It's easier than ever to use a Palm as a standalone device. Bluetooth and SD card readers are ubiquitous. You almost certainly have one or the other (or both!) built-in to the computer or smartphone you're using to view this webpage! That means data transfer to a Palm is as simple as copying files from one storage medium to the other.
But while it's no longer necessary to rely on the classic HotSync for installing apps and files on most Palm devices, there are still reasons you might want to do so. Taking backups, jotting memos from the comfort of a keyboard and mouse, or keeping up with that ancient contacts list are all perfectly valid reasons you might want to use Palm Desktop in 2020 and beyond.
Step 1: Download Files
To get started, you'll need to grab one or two files:
- Palm Desktop 6.2.2
- Legacy HS Fix (Palm OS 1-4)
- USB Drivers (if applicable):
If you aren't sure which driver package to get, use the Aceeca drivers. Despite the company branding, the drivers themselves are generic and will work with all USB Palm devices. Make sure to extract any .zip files and remember the location!
If you are using a serial connection (including serial-to-USB via an adapter) or Bluetooth wireless for HotSync, you do not need any drivers to proceed.
Step 2: Connect your Palm
There are three ways to connect your Palm to your Windows 10 PC, and the process differs slightly for each:
2a: Connect via USB
Upon first connecting your device to USB, a Windows notification will appear indicating that a Palm Handheld is being setup. However, Windows 10 can only recognize Palm as a generic USB device and cannot actually interface with it.
To solve this problem, right-click on the Windows Start button and open Device Manager. There you'll find your Palm listed under "Other Devices" with an exclamation icon to indicate a missing driver.
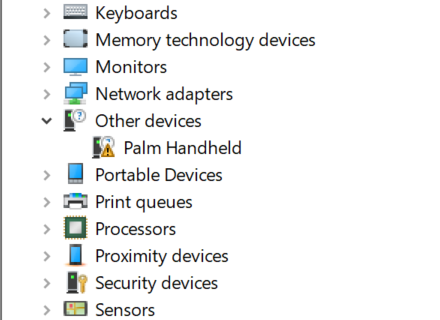
Right-click on "Palm Handheld", then choose "Update Driver". Next, choose "Browse my computer for drivers" and enter the path to your downloaded driver package. Proceed through the installation, and your Palm will be recognized by Windows!
Alternatively, right-click on your downloaded driver's primary .inf file (e.g. "AceecaUSBDx64.inf") and choose Install. Then, reconnect your Palm device.
2b: Connect via Serial
Though serial devices are now considered legacy, Windows 10 still retains limited support for them and can HotSync over serial just fine. However, a modern PC is unlikely to have a serial port, in which case you'll have to purchase a serial-to-USB adapter. While there are many such devices on the market, this one has been tested and proven working for HotSync on Windows 10:
- Serial-to-USB adapter on Amazon (FTDI Chipset) (non-affiliate link)
- Depending on your operating system, you may also need to install FTDI Drivers manually
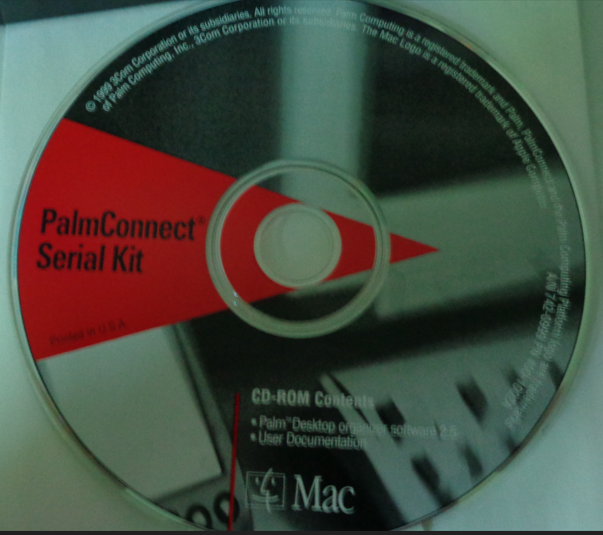
Note that it is strongly recommended to use an adapter with an FTDI chipset, as many PL2303 adapters will not work. Palm itself also released a licensed serial-to-USB adapter known as the "Palm Connect Kit", but this adapter is highly outdated and is unlikely to work with Windows 10 and above.
With a compatible serial-to-USB adapter connected, right-click on the Windows Start button and open Device Manager. There you'll find your adapter listed under "Ports (COM & LPT)". Right-click on your adapter and choose "Properties", then switch to the "Port Settings" tab. Here, you'll want to set "Bits per second" to 115200 for the fastest HotSync. Then, click "Advanced" and take note of the COM Port Number. You'll need it in Step 4.
2c: Connect via Bluetooth
While Bluetooth was once a complicated protocol to get working with HotSync, with Windows 10, it couldn't be easier. Simply open the Windows 10 Settings app and navigate to Devices. Make sure Bluetooth is enabled. If so, you will see the message: "Now discoverable as [YOUR PC]". Leave this screen open to keep your PC discoverable by nearby Bluetooth devices.
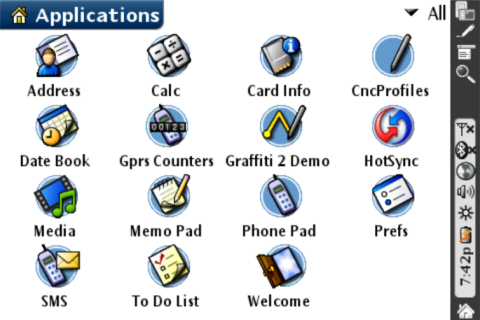
Next, on your Palm device, go to the Prefs app and choose Bluetooth. Make sure Bluetooth is On. Then, choose "Setup Devices" > "PC Setup" > "Bluetooth HotSync". Your Palm will search for nearby Bluetooth devices and show your PC in the list. The PC name will match the message on your Windows 10 Bluetooth settings screen.
Note that if your PC does not appear, you might need to add it as a Trusted Device first. Back up to the Bluetooth section of Prefs and add a new Trusted Device, then repeat this step.
Next, your Palm will inform you about virtual serial ports, but you can ignore this entirely. Windows 10's Bluetooth drivers come pre-configured with virtual serial support, so no further configuration is needed. Simply touch "Next" on your Palm until you reach the final setup screen.
You'll receive a prompt to launch HotSync, but don't do it just yet! Instead, proceed to Step 3.
For older devices that do not have a "Setup Devices" button, use the following procedure (the Palm device should already be paired with the PC at this point):
- 1. From the HotSync Menu, select "Connection Setup..."
- 2. Tap the "New..." button.
- 3. Name: Bluetooth (or whatever you want) Connect to: PC Via: Bluetooth "Tap to find" and select the Desktop PC you've already got paired.
- 4. Tap OK and then the Done button.
- 5. At the HotSync pane, select the new connection from the drop down list under the hotsync icon.
- 6. Go back into the System Preferences for Bluetooth and make sure "Connectable" is set to "Yes"
- 7. On the Desktop, right click the hotsync tray icon and select "Settings..." Then tap "Connections" at the lower left of the settings pane and make sure the "Bluetooth" box is checked, then select Done.
Step 3: Install Palm Desktop
This one's pretty straightforward. Simply extract your Palm Desktop 6.2.2 download and run the setup application. Naturally, you can ignore any prompts to register your software or device (as there's no one left to register them with). However, you should also ignore any prompts to run HotSync just yet. If prompted to HotSync, choose Skip and proceed to Step 4.
As a side note, you should also verify that Palm Desktop is configured to run as Administrator (this should be enabled by default).
Step 4: Configure HotSync Manager
Before your Palm can communicate with Palm Desktop, you'll need to configure HotSync Manager to listen on the same channel as you're using to connect.
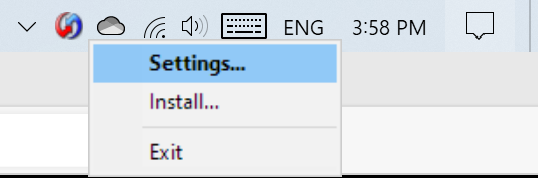
With Palm Desktop installed, you'll notice a little HotSync icon in your Windows 10 system tray. If not, you can run it by searching "HotSync Manager" in the Start menu. Then, right-click on the system tray icon and choose "Settings".
In HotSync Manager settings, navigate to the Connections tab. There you'll see a list of checkboxes for available connection types. Make sure the boxes for any connection types you will be using are checked. If you're using serial, you will also need to assign the COM port indicated in Step 2b.
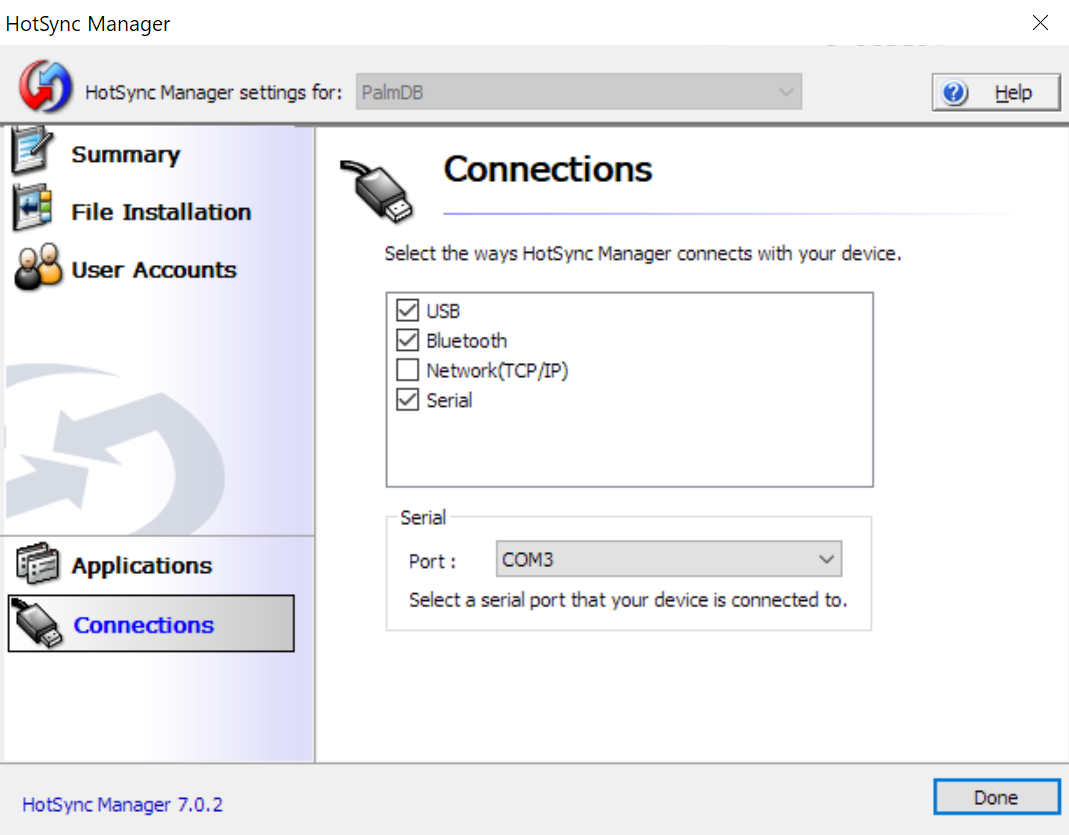
Once your connection settings are correct, click "Done" and HotSync Manager will minimize itself back to the system tray.
4b: Configure HotSync Manager for Legacy Devices
For devices running Palm OS 2.0.5 or older, you must also disable Package Installer if you are experiencing crashes (typically during the "Synchronizing Capabilities..." stage). This can be done from the HotSync Manager Applications tab.
From the list of available HotSync applications, click Package Installer, then "Configure..". In the pop-up window that appears, choose "Do Nothing", then check the box "Set as Default" and click OK. Click "Done" to accept changes and HotSync Manager will minimize itself back to the system tray.
You can now add any apps you want to install through the traditional Install menu in Palm Desktop and run HotSync without crashes!
Note that HotSync application settings are applied per-user account, so Package Installer will not be disabled for other devices synced to the same PC. You can always view other account settings from the dropdown box at the top of HotSync Manager.
Step 5: HotSync!
With Palm Desktop installed and HotSync Manager configured to your connection type, you may now proceed. A window will appear prompting you to choose or create an account for your Palm, then begin transferring data.
Congratulations! You just completed your first HotSync on Windows 10!
Now, if you're looking for things to install to your Palm device, why not browse PalmDB for some apps?
Notice
PalmDB is proudly hosted by fans for fans and is not affiliated with the former Palm Computing company or its current rights holders in any official capacity. While we are not able to provide official support, if you appreciate our efforts to keep Palm alive, please consider donating to PalmDB! Also, join the Discord community for discussion of all things Palm and Pocket PC!


